A small batch of parcels does not always need a complicated label workflow. If each package needs the same short message, a regular sheet of labels can be enough. The useful decisions are the finished size, the space between labels and the settings that keep those measurements intact on paper.
Here is a worked plan for 30 rectangular labels, each 50 × 30 mm, on blank A4 sheets. It uses the same text on every label. It is suitable as a planning example for blank stock; it is not a template for a particular brand of pre-cut labels.
Choose the label before the sheet count
Start with the place where the label will go. Cut a 50 × 30 mm rectangle from scrap paper and hold it against the intended package. Check that it leaves enough room around folds, seams and other information.
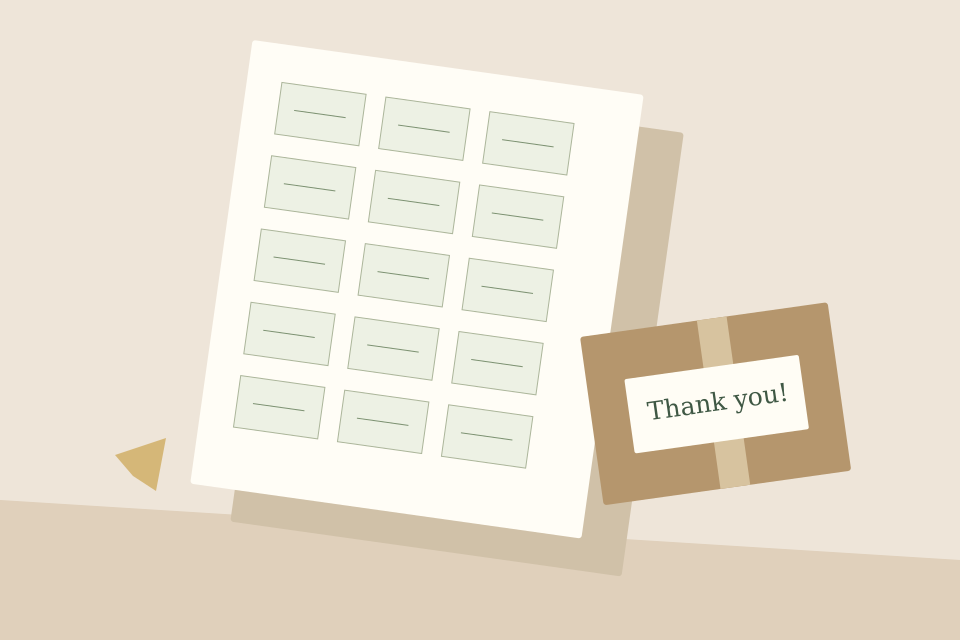
Then choose a short message. In Swetter's label and card layout tool, the text repeats across every position. Try Thank you! or Made with care. The current PDF tool uses basic English characters and one line of text. It does not merge names or addresses, insert logos or create a different design for each label.
If you need those features, use this calculation to plan the sheet, then build the design in software that supports them. Do not compress a long message simply to fill the available space.
Work out how many fit
For this example, choose A4 paper, a 10 mm minimum margin and a 4 mm gap. A4 is 210 × 297 mm, so the area inside those minimum margins is 190 × 277 mm.
Three columns fit across the sheet:
3 × 50 + 2 × 4 = 158 mm
Eight rows fit down the sheet:
8 × 30 + 7 × 4 = 268 mm
The resulting grid contains 24 positions per full sheet. Because Swetter centers the grid, the actual left and right edge spaces are 26 mm, and the top and bottom spaces are 14.5 mm. The 10 mm value was a minimum, not a promise that every outer space would equal 10 mm.
You can check the general calculation in the label spacing and margins guide.
Plan the second sheet deliberately
Enter 30 as the total number of labels. The PDF contains 24 labels on its first page and six on its second page. Unused positions on that last page stay blank.
| Page | Labels printed | Unused grid positions |
|---|---|---|
| 1 | 24 | 0 |
| 2 | 6 | 18 |
| Total | 30 | 18 |
Decide whether those two sheets make sense for your materials. Changing the finished label size may change the count, but the smallest possible label is not automatically the best label for the package. A little extra space can make a short message easier to read and a sheet easier to cut.
Check the proof at actual size
Enable cut outlines and download the PDF. Open it in a PDF reader, select A4 paper and use 100% or Actual size. Print the first page on ordinary paper before using adhesive or heavier stock.
Measure a rectangle between the centers of the outline strokes. It should match the 50 × 30 mm example. If it is smaller, inspect Fit, Shrink or other scaling options in the print application and printer settings. Avoid changing the label dimensions to compensate for an unidentified scaling setting.
Also check the repeated message, the outside edges of the sheet and the space available for cutting. Our actual-size checklist gives a more detailed measurement test.
Keep blank and pre-cut stock separate
Pre-cut sheets may have specific offsets, rounded corners or different horizontal and vertical spacing. A centered general-purpose grid is not a substitute for that exact template. Use the manufacturer's matching template when working with pre-cut stock.
For blank stock, confirm that the material is suitable for your printer before loading it. Follow the printer and paper supplier's instructions. Swetter does not inspect media compatibility or simulate how adhesive stock feeds.
Save the PDF with the paper size and label dimensions in its filename. Keep a note of the verified print settings alongside it. The next small batch then starts with a checked example instead of another round of guessing.