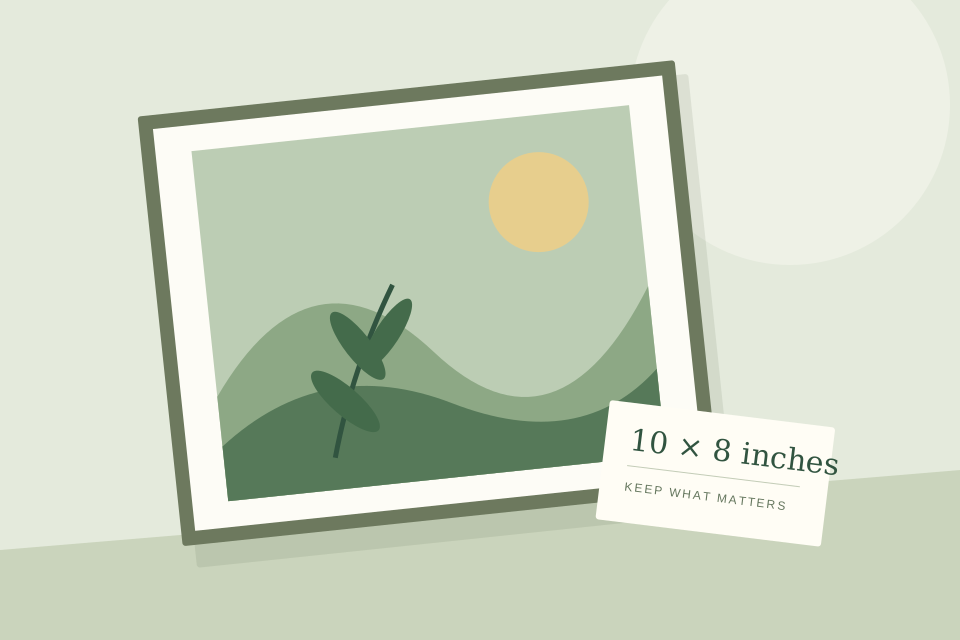
You have a landscape photo you like and a 10 × 8 inch frame waiting for it. The tempting next step is to select that size in a print dialog and press Print. A few checks before that point can save you a second print, especially when the subject sits near an edge.
This walkthrough uses a 3,000 × 2,000 pixel landscape image and a 10 × 8 inch landscape print. It is a numerical example, not a report of a physical print test. Use your own file dimensions and the visible opening of your frame when you follow along.
Start with the original file
Find the original image before working on the crop. A copy saved from a message or a screenshot may have different pixel dimensions. The image's file size in megabytes does not tell you how much detail remains, so check the width and height in pixels.
Open the print size checker and choose the image from your device, or enter its dimensions manually. Choosing a file reads its size locally in your browser. Set the intended print width to 10 inches and the height to 8 inches.
Keep the original file separately. You may later want a different frame, and a crop made for this print is not necessarily the crop you will want next time.
Decide what the frame can lose
Our example photo has a 3:2 shape. The print has a 5:4 shape. Filling the print without stretching means keeping a narrower part of the image.
For a 3,000 × 2,000 pixel original, the retained region is 2,500 × 2,000 pixels. A centered crop removes 250 pixels from each side. That is one-sixth of the original image area, enough to matter if a face, a hand or a building sits near the edge.
Open the photo crop preview, select 10 × 8 · landscape, and move the horizontal position slider. The amount retained stays the same; the location changes. Compare the left and right edges, then check the subject again. A centered crop is a starting point, not a requirement.
If neither crop is comfortable, try keeping the whole image. Fitting the full 3:2 photo within a 10 × 8 area makes the image about 10 × 6.67 inches, leaving space above and below it. Our crop versus fit guide explains this trade-off.
Check the pixels after cropping
The cropped example supplies 2,500 pixels across 10 inches and 2,000 pixels across 8 inches. Both give 250 PPI. Checking the original width alone would have suggested 300 PPI, but that ignores the pixels removed by the crop.
| Item | Example result |
|---|---|
| Original photo | 3,000 × 2,000 px |
| Retained crop | 2,500 × 2,000 px |
| Intended print | 10 × 8 in |
| Effective density | 250 PPI |
Compare this result with your print provider's requirements. It does not predict sharpness by itself. Examine the subject for blur and compression, and make a small proof when the final result matters. Changing a resolution label cannot restore lost image detail.
Export, then set the physical size
Download the cropped PNG. Swetter keeps the available source pixels and does not enlarge them. The download still needs its intended physical dimensions set in your printing software.
Before printing, check the selected paper, the image orientation and the final print preview. Avoid applying another automatic crop without reviewing it. If the frame has a mat or a lip that covers the paper's outer edge, allow for that when positioning important details.
The printed photo may measure 10 × 8 inches while the visible opening is slightly smaller. Measure the frame you actually have instead of relying only on a size printed on its packaging.
Make one proof before the final print
Print a single proof and place it behind the actual frame opening. Check which edges are hidden, whether the subject has enough room, and whether the paper sits as expected.
Save a short note with the exported file: the intended dimensions, crop choice and print settings. That makes a replacement print easier to reproduce. Once the proof looks right, use the same file and settings for the final paper.