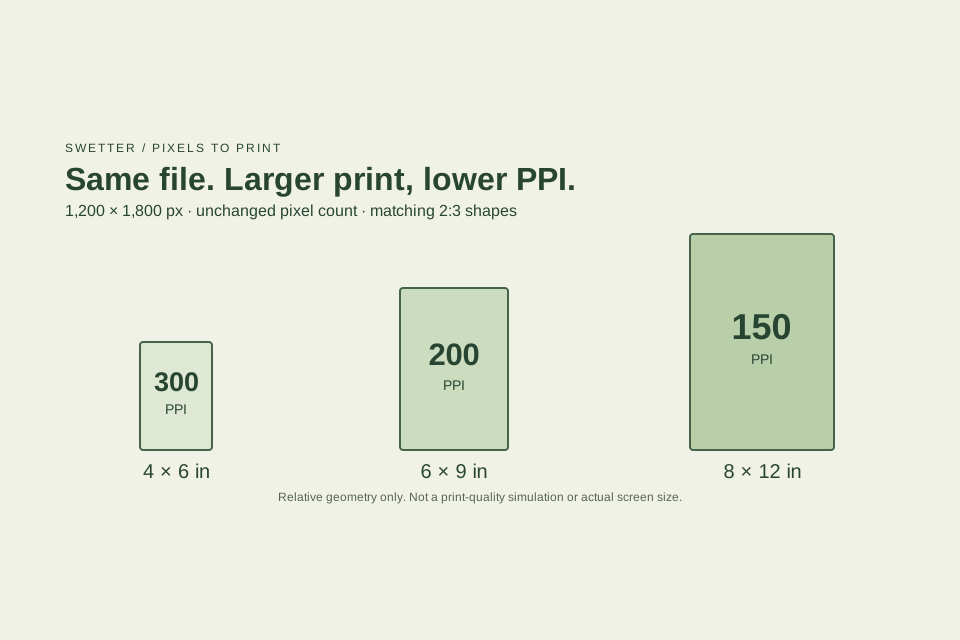
A portrait file measures 1,200 × 1,800 pixels. You want a small album print, a larger desk print or an 8 × 12 wall print. All three sizes have the same shape, so this decision can be checked without cropping: 4 × 6 inches gives 300 PPI, 6 × 9 gives 200 PPI, and 8 × 12 gives 150 PPI. The larger versions spread the same pixels over more paper.
This walkthrough isolates that size decision. Our 10 × 8 crop case covers a different problem: losing pixels when the file and frame have different shapes.
Evidence and limits: We entered these dimensions in the live Swetter tool on October 14, 2026 and checked the results independently by dividing pixels by inches on both axes. The screenshots are actual browser captures. Their leaf picture is the tool's built-in illustrative artwork, not a tested 1,200 × 1,800 photograph. No paper prints, visual sharpness comparisons or printer measurements were made.
First check the shape and orientation
Here, width comes first: 1,200 pixels wide and 1,800 pixels high. The ratio is 2:3. Each portrait print—4:6, 6:9 and 8:12—reduces to that same ratio. Filling any of these rectangles therefore retains 100% of the pixel area in the geometric calculation.
A landscape file with dimensions 1,800 × 1,200 needs landscape print settings such as 6 × 4. Reversing only the print width and height introduces a crop that this example does not include. Also check the actual image area, rather than assuming the paper size equals the photograph size when borders are present.
Reproduce the three runs
- Open the Print size checker. If an image is already loaded, choose Reset to example so you can enter dimensions manually.
- Enter 1200 for Width (pixels) and 1800 for Height (pixels).
- Set Units to Inches, Target PPI to 300 PPI, and When the shapes differ to Crop to fill.
- Set Print width and Print height to 4 and 6. Record the result.
- Change only those two print dimensions to 6 and 9, then 8 and 12. Keep the source dimensions and target unchanged.
The results update as you type. An intermediate value can briefly describe a different shape, so read the result after both dimensions are entered.
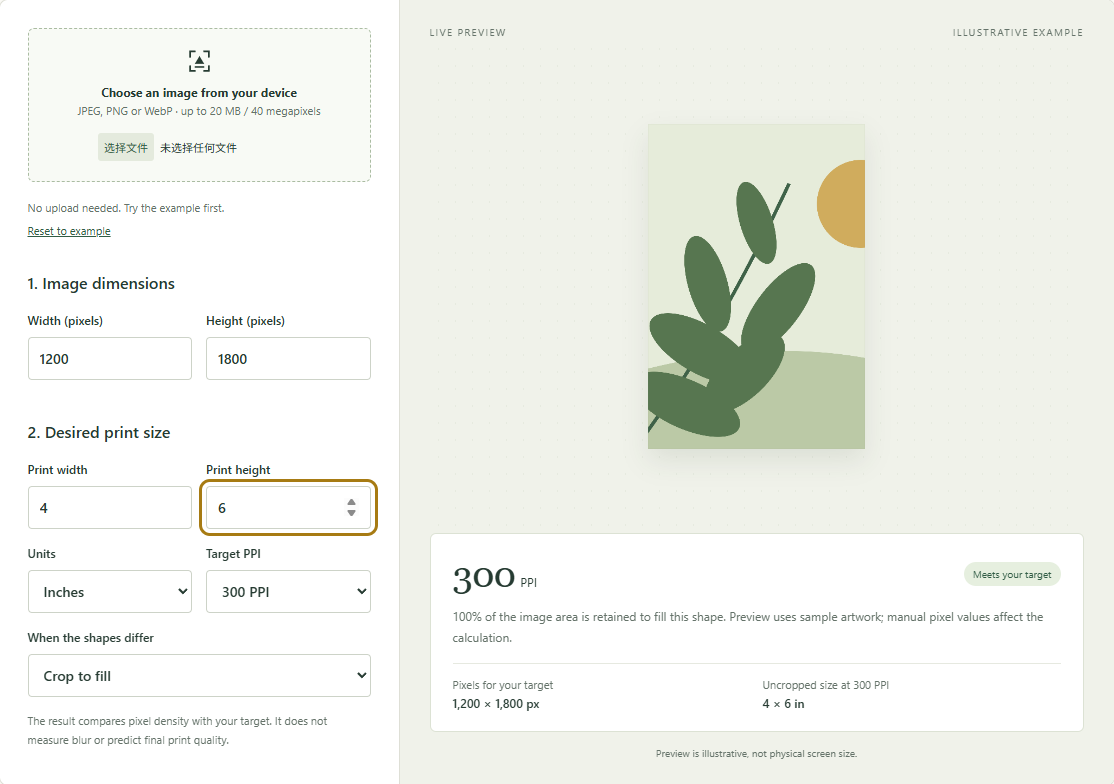
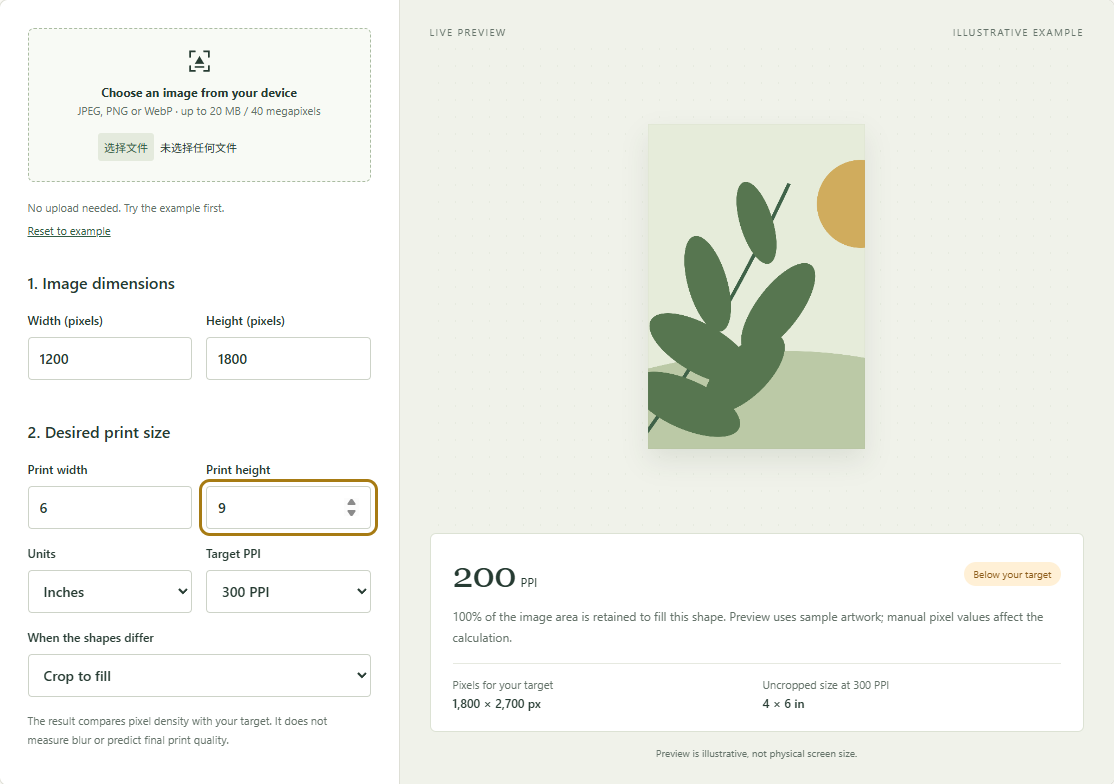
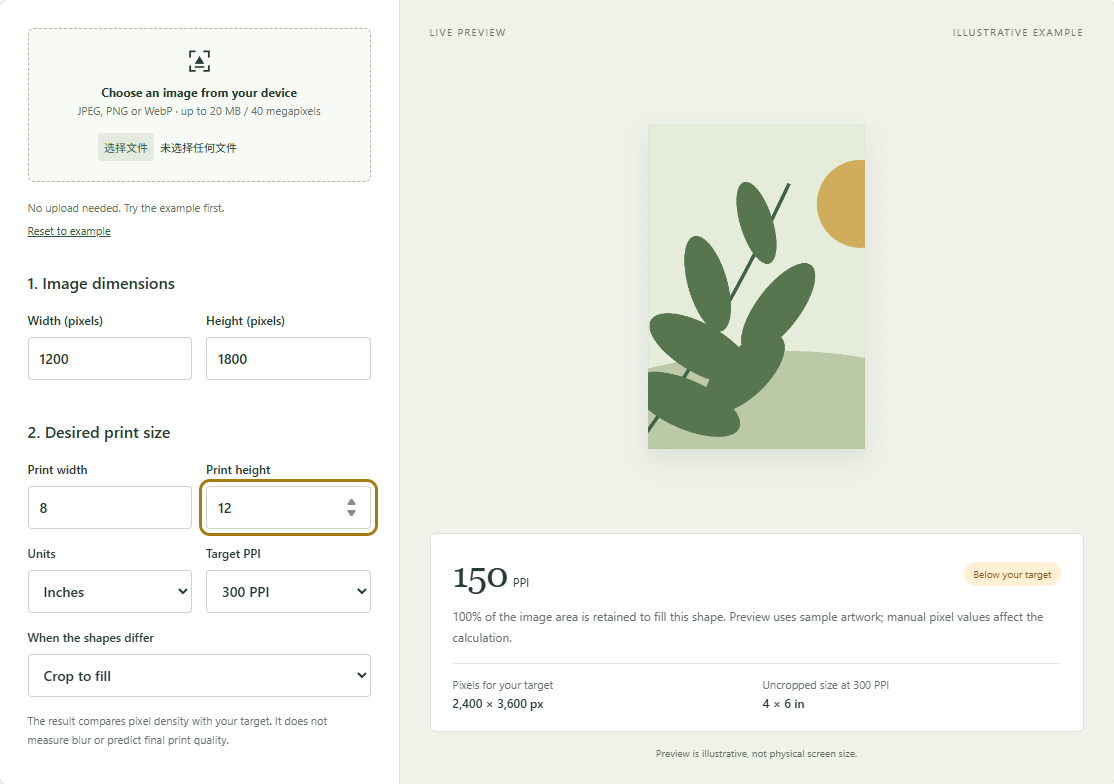
Select a screenshot to inspect the settings at full resolution. These captures compare calculations and controls, not how sharp a finished photograph will look.
Check the arithmetic without the tool
For these matching shapes, divide each source dimension by the corresponding printed dimension. Both answers should agree.
| Print size | Width calculation | Height calculation | Pixels needed at 300 PPI | Printed area |
|---|---|---|---|---|
| 4 × 6 in | 1,200 ÷ 4 = 300 | 1,800 ÷ 6 = 300 | 1,200 × 1,800 | 24 sq in |
| 6 × 9 in | 1,200 ÷ 6 = 200 | 1,800 ÷ 9 = 200 | 1,800 × 2,700 | 54 sq in |
| 8 × 12 in | 1,200 ÷ 8 = 150 | 1,800 ÷ 12 = 150 | 2,400 × 3,600 | 96 sq in |
The source always contains 2.16 million pixels. A native 300 PPI file for 6 × 9 would contain 4.86 million pixels; for 8 × 12, it would contain 8.64 million. This describes the requested pixel count, not a promise that making a larger file will recover missing detail.
Keep a comparison record
Download the three-row calculation table (CSV)
Includes source dimensions, both PPI calculations, target pixel dimensions and relative printed area. This is a calculation record prepared for the article, not an image export or a printer test report.
Why changing the target changes the badge
Keep the 6 × 9 settings and change Target PPI from 300 PPI to 200 PPI. In our check, the status changed from Below your target to Meets your target, while the actual result stayed at 200 PPI. The required-pixels line became 1,200 × 1,800, and the uncropped-size line became 6 × 9 inches.
The target is a comparison threshold. It does not resample the file, add pixels or inspect focus. Use a target agreed with your print provider, rather than lowering it only to obtain a reassuring badge. Adobe's print-dimensions instructions likewise distinguish changing physical dimensions from changing pixel count when resampling is disabled.
Choose a size, then make a proof
If your provider asks for 300 PPI at the finished image size, 4 × 6 is the size this file meets without adding pixels. For 6 × 9 or 8 × 12, first look for a larger original, or ask whether the provider accepts the calculated 200 or 150 PPI for your intended use. Do not describe either size as automatically unusable—or guaranteed sharp—based on this table alone.
Consider how the print will be viewed. An album photograph is normally inspected differently from a wall picture. Adobe's print-resolution guidance notes that viewing distance affects the usefulness of lower resolutions. It does not establish that this particular 8 × 12 print will look acceptable.
For your own file, load the actual image, inspect faces or fine detail at full pixel size, and confirm the final crop and printed image dimensions. If the decision matters, order or print one proof at the intended size and examine it at the expected distance. Record the file, size, paper and printing settings with the result. That physical comparison is the step still needed after this digital check.